

Deployment in Django
This fall while attending a coding bootcamp one of my classmates, we will call her A.H. put together a deployment guide that I think is fantastic.
Audience: This is for someone who is trying to get their Django website deployed. You should already be familiar with your terminal, use Linode as your hosting service, utilize PHPMyAdmin, Apache2, and finally Namecheap.com as your domain service.
Deployment of Projects
ssh [email protected] ( Your number will look similar to this one)
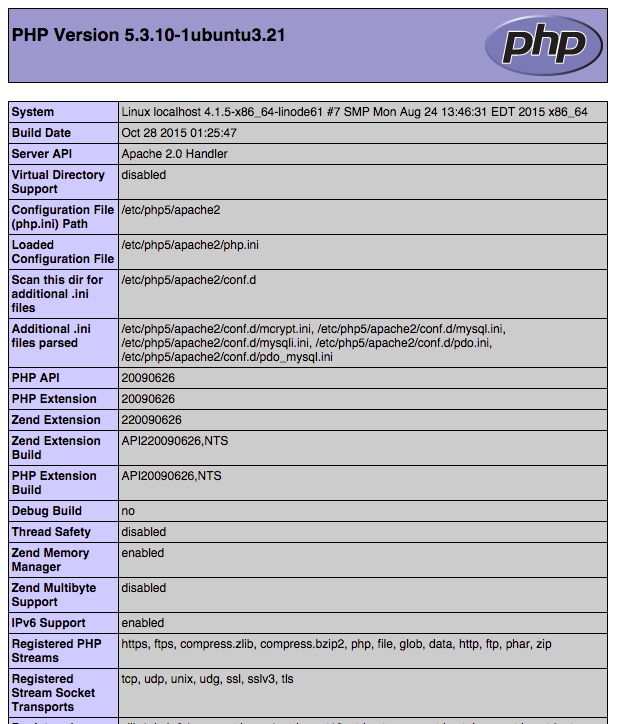
If you go to http://00.00.000.00, the php info sheet should show up.
Go ahead and add a new table in the http://00.00.000.00/phpMyAdmin/named the same as the database for your local project.
Deploying New Project
cd /sites/projects
mkproject first_django ( first_django is what we named one of our projects. Whatever you decide to name yours make sure it matches your github repo or you could run into some debugging issues later on.)
cd ..
rm -rf first_django
Explanation: We are making a new project and virtual env with make new project, but we delete the project part so that we can replace it with the github version.
Now lets clone in our repository.
git clone https://github.com/<whateverthenameofyourprojectis>.git
pip install all of the requirements of the local project (pip install django, pip install mysql-python, pip install pillow, etc.)(found by doing pip freeze)
**NOTE** Make sure the django version you install matches the django version stated at the top of the settings file in your local project
Make a config file for the project
nano /sites/configs/nameofyourconfigfile.conf
All Apache config files should start by opening up “VirtualHost” tags. Switch out first_django with your project name.
<VirtualHost *:80>
ServerName 00.00.000.00
ServerAlias 00.00.000.00
WSGIDaemonProcess first_django python-path=/sites/projects/first_django:/sites/virtualenvs/first_django/lib/python2.7/site-packages
A) This is where those debugging issues could occur so make sure the name of your github repo matches the name of your project. MATCHY MATCHY!!!
B) If you are using a version of Python other than 2.7 you should see that version number.
WSGIProcessGroup first_django
WSGIScriptAlias / /sites/projects/first_django/project/wsgi.py
Alias /static/ “/sites/projects/first_django/static/”
Alias /media/ “/sites/projects/first_django/media/”
ErrorLog /sites/projects/first_django/error_log
CustomLog /sites/projects/first_django/access_log combined
</VirtualHost>
Now lets go over to our project folder ( cd /sites/projects/first_django)
Go into settings and make sure your database password is the same is the ssh one (the one you use to log into your phpmyadmin for the deployment server), and save out.
Go to main project folder
Collect staticfiles and sync up db
./manage.py collectstatic
./manage.py syncdb
./manage.py makemigrations
./manage.py migrate
Now the staticfiles should be in a new static folder found on the same level as main, so go into settings again and change the STATIC_URL to ‘/static/’ (if it is not already)
Let’s edit our local “hosts” file so we can simulate having a domain name assigned to this server before we actually do.
In a terminal that you don’t have using SSH, enter the following.
sudo nano /private/etc/hosts
You should see a series of IP addresses with names (Most notably 127.0.0.1).Now we will want to create our own Alias. For the sake of being able to actually use this alias again you will want to use the following format:
00.00.000.00 subdomain.your-real-purchased-doman.com
Ex: 00.00.000.00 firstdjango.classbased.com
Now save out of your hosts file, and try going to your new alias, for this it will be http://firstdjango.classbased.com/
Now, when we hit our domain we should see that we are now loading the index.php file we made earlier (the php info page).
We need to edit our virtual host file ( nameofconfigfile.conf ) to now make it listen for our alias made in our hosts file instead of the IP address.
Change the server name and alias to our actual subdomain that you want

Save and close and restart apache.
(service apache2 restart)
If all went well, you should be able to login to your admin, and your site should be up.
http://firstdjango.classbased.com/admin/
Now go ahead and import your scripts or add database stuff
Hooking up linode and namecheap:
On Namecheap, go to profile, domain list, advanced DNS, add records
Select record type A:
Host: this will be the subdomain thing like “firstdjango” in “firstdjango.mydomainname.me”
IP Address is the numbered IP address in linode (in DNS Manager under A Records next to the www) (It’s the server number like 00.00.000.00)
TTL click soon so you can see automatic feedback
https://medium.com/@HansenShaylee/deployment-django-36301ecc7449#.2jrps38du
( Published on Medium Dec 23, 2015)


